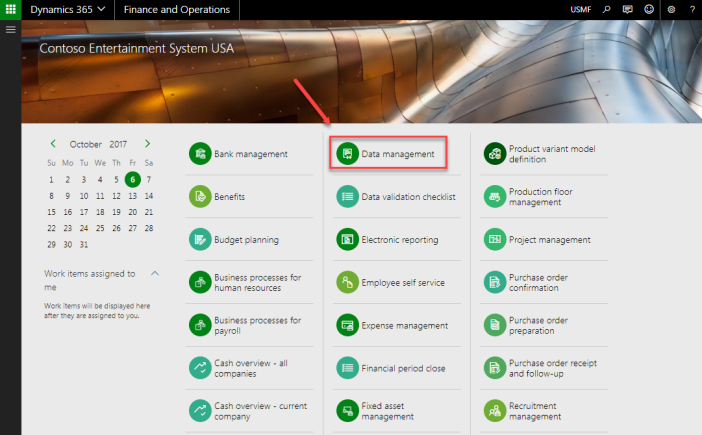
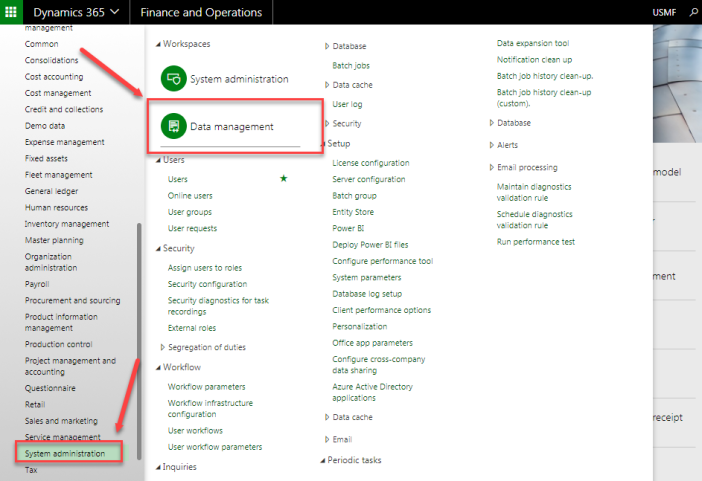
Navigate either to the Data management workspace or System administration > Data management
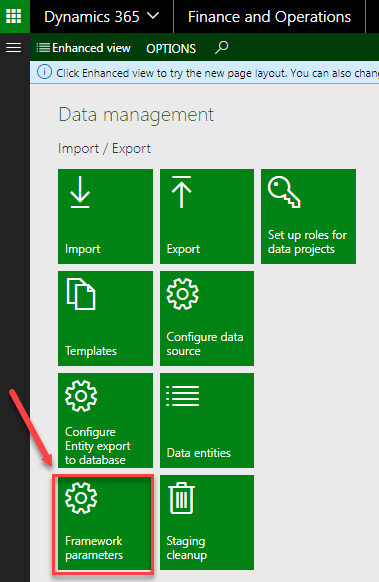
Before you start working with this feature, validate the visibility of the data entities
Click on the Data entities tile
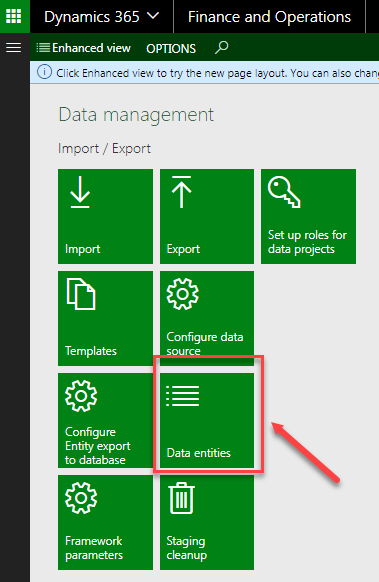
The list of data entities should appear
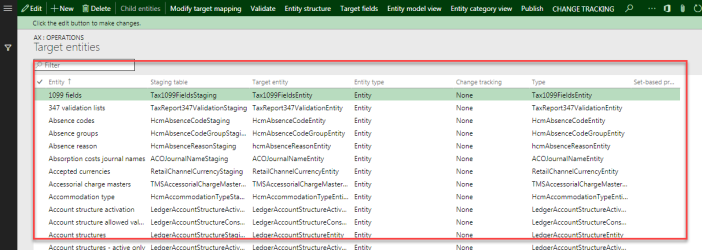
If this form is empty, click on the Framework parameters tile
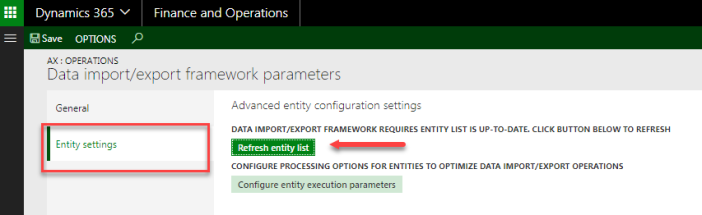
Switch to the Entity settings tab and click on the Refresh entity list button
Now you can work with the DIMF functionality
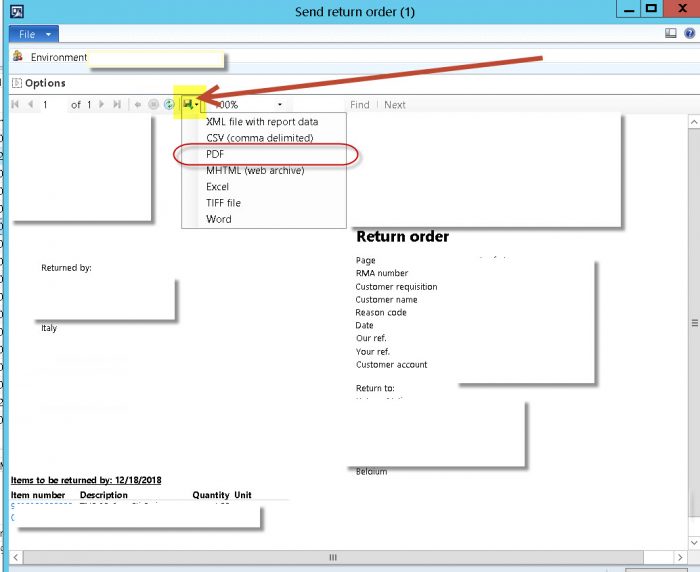
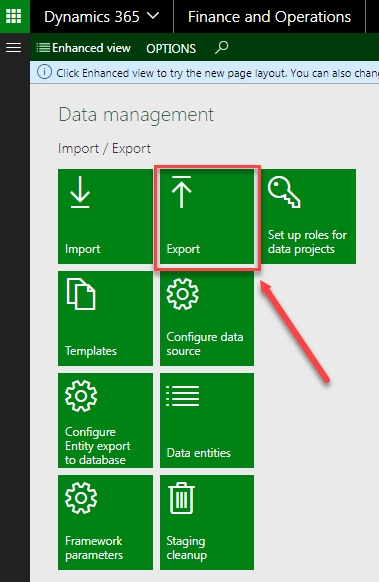
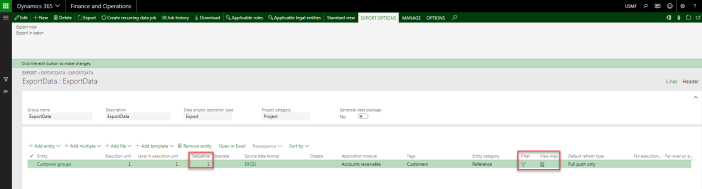
Export data
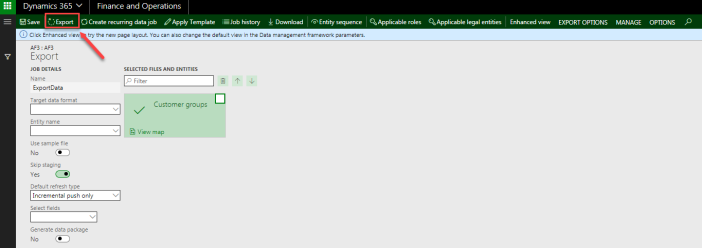
Click on the Export tile
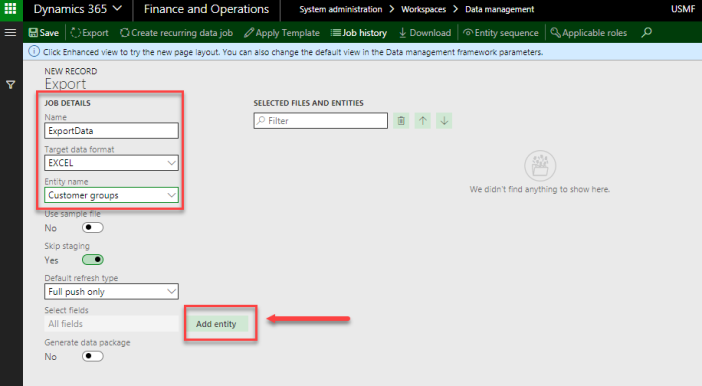
Set the following values:
Name – the name of the job
Target data format – in which format you’d like to export data.
Select the entity name form drop-down list
Click Add entity button

Click on the Enhanced view to configure additional details.
On this form, the most important fields are:
Sequence: If you have several data entities it will identity the order of the data export / import
Filter: If you want to export only specific set of data, you are able to setup a filter
Map: Source and staging field mappings
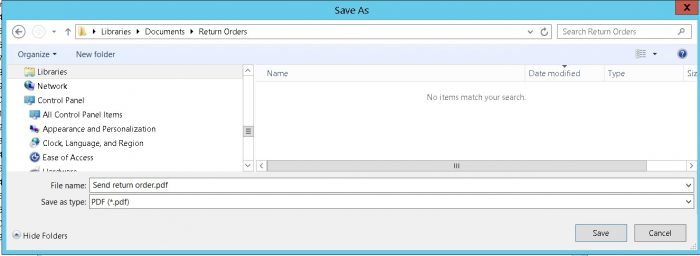
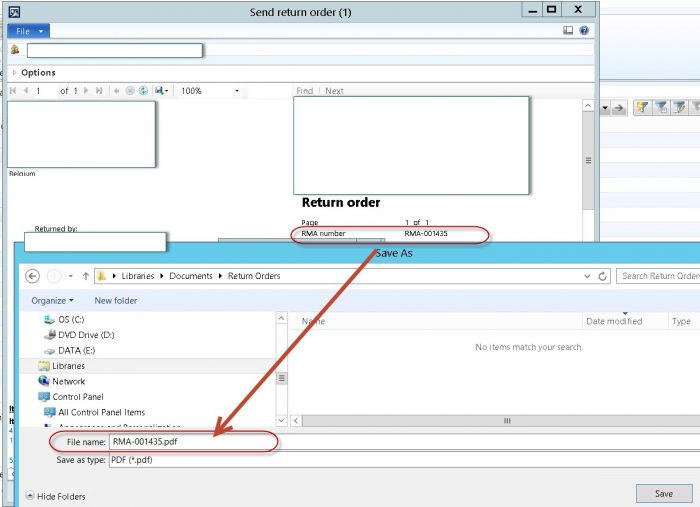
Click Export button
Wait until it’s completed
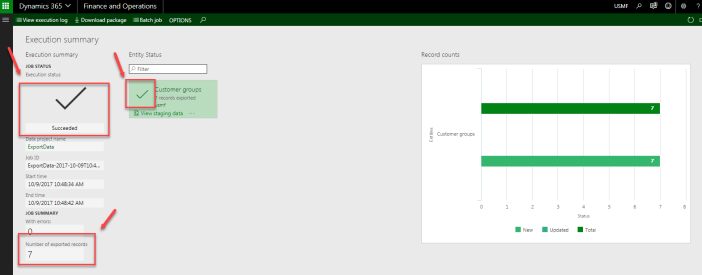
Click Download package to download the exported excel file
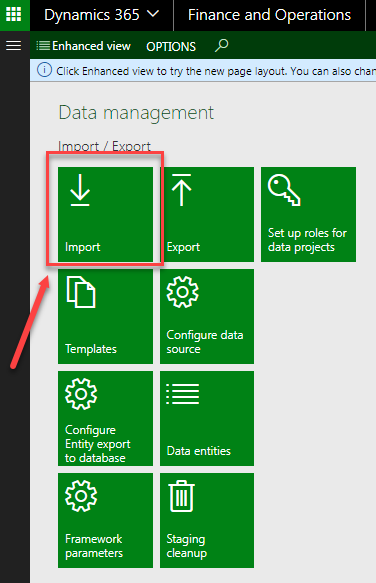
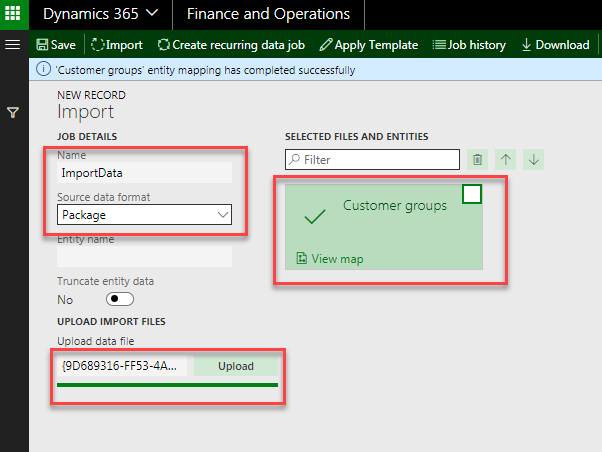
Import data
To import exported data, navigate to the import tile
Set the following values:
Name – the name of the job
Source data format – in which format you’d like to import data.
Click Upload button and select the file.
Once you’ve uploaded all data entities, click Import button
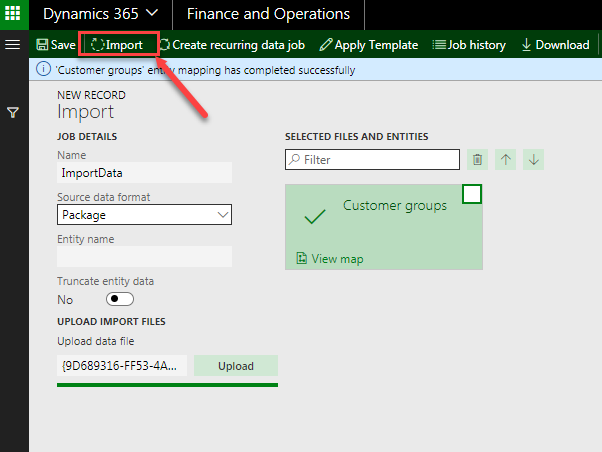
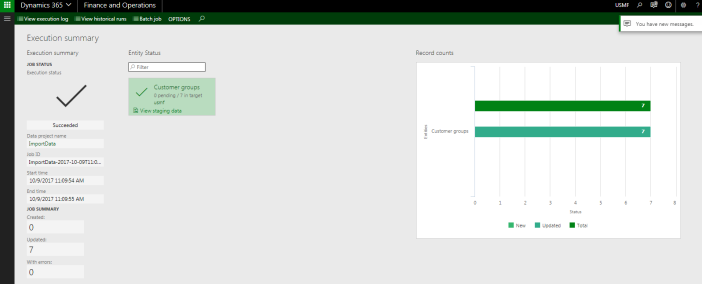
Wait until it’s completed
Going forward if you populate the spreadsheets with customer specific data in that format it will import data as well.